In Adobe Photoshop CC 2019 we have various tools to help us in editing our picture . In this section we will be discussing on tools like
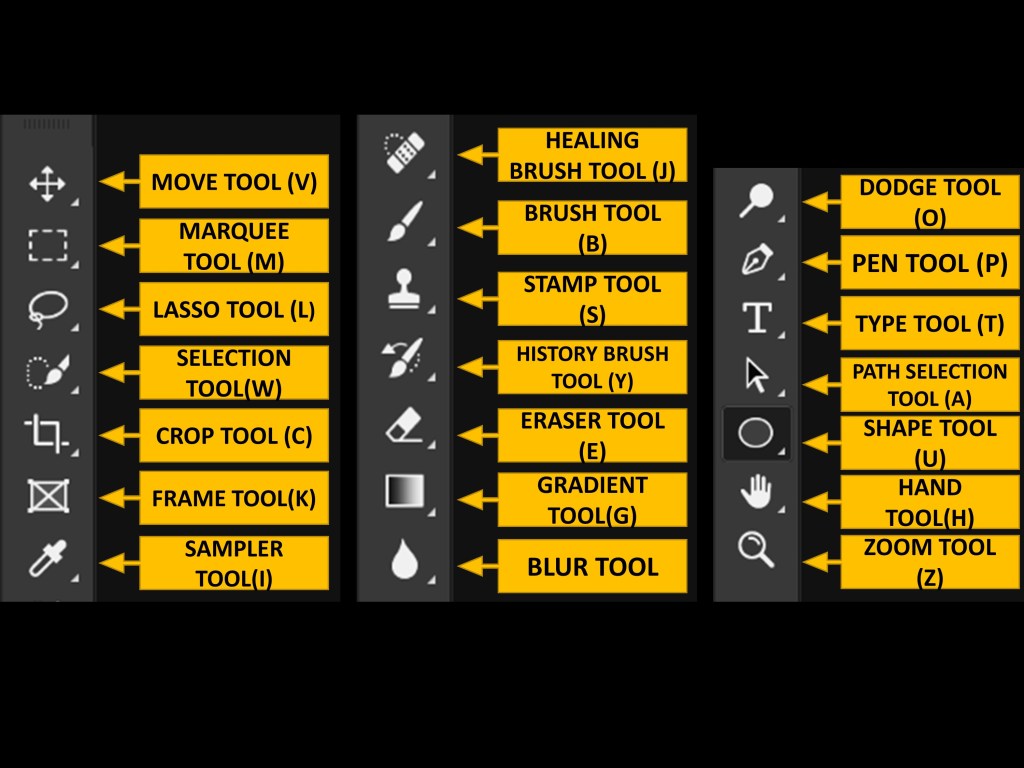
- Move tool
- Marquee tool
- Lasso tool
- Selection tool
- Crop tool
- Frame tool
- Sampler tool
- Healing Brush tool
- Brush tool
- Stamp tool
- Eraser tool
- Gradient tool
- Blur tool
- Dodge tool
- Pen tool
- Type tool
- Shape tool
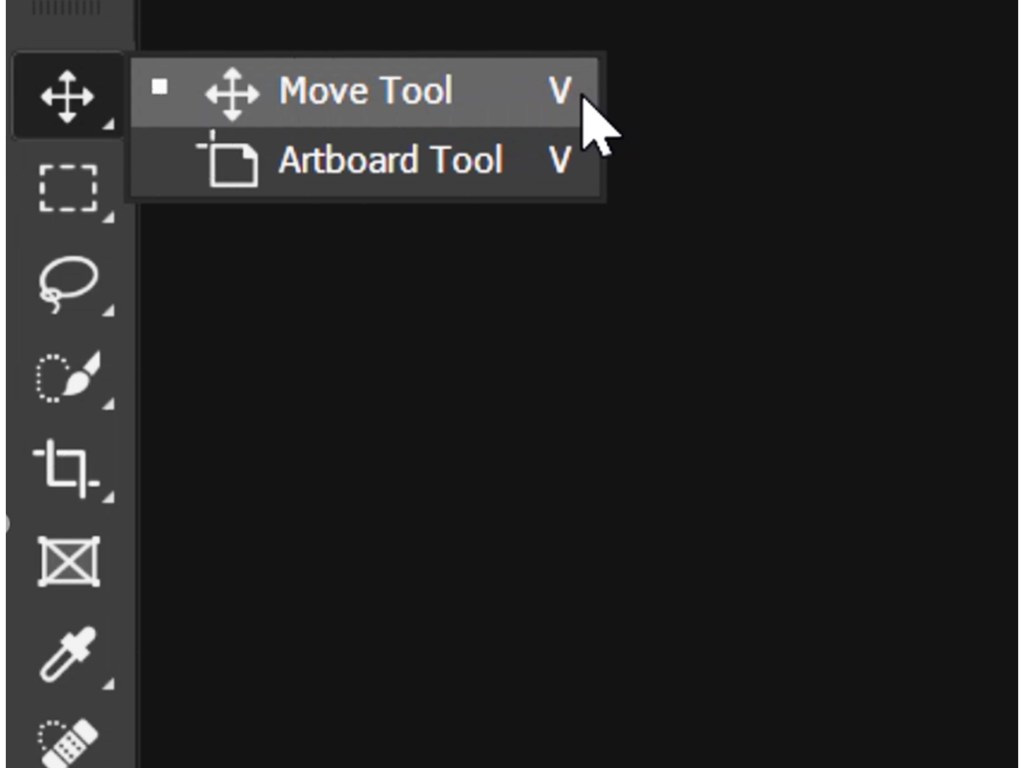
MOVE TOOL (V)
This tool is used in the document to move the image/text/vector to any part in the document. It can be availed by pressing KEY V.
MARQUEE TOOL
The marquee Tool is used to make a selection over our image, which can be later copied, cut, coloured, moved or anything as we wish to. There are 4 different marquee tools :
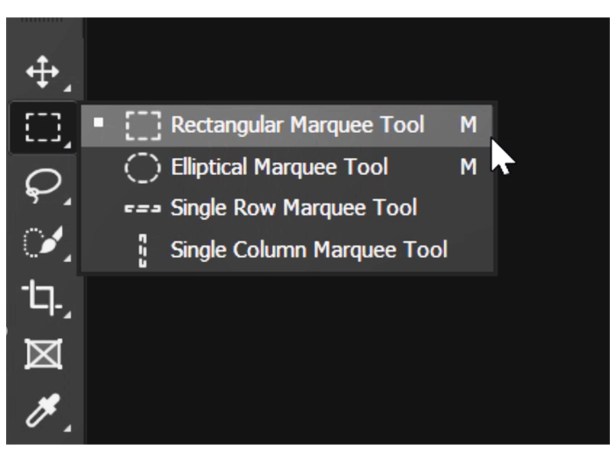
Rectangular marquee
The rectangular marquee tool is used to select the rectangular surface of the image.
Elliptical marquee
The elliptical marquee can selext any elliptical surface from our image.
Single row marquee
The single row marquee can select a single horizontal pixel from our image.
Single column marquee
The single column marquee can select a single vertical pixel from our image.
Steps :
- Open an image and select your desired marquee tools.
2. Click and drag over the image to make a selection. The selected area will appear inside flashing lines. Now you can copy/cut/move/paint/resize the selection.
3. Try different option on the tool options bar while making the selection. Also you can shift between the marquee Tool by pressing “Shift+M”.
LASSO TOOL
The lasso tool is used to select an arbitrary shape, straight-edges as well as free hand segments from our image. We can select area of any shape with the lasso tool that is not possible by the marquee Tool. there are three types of Lasso tools.
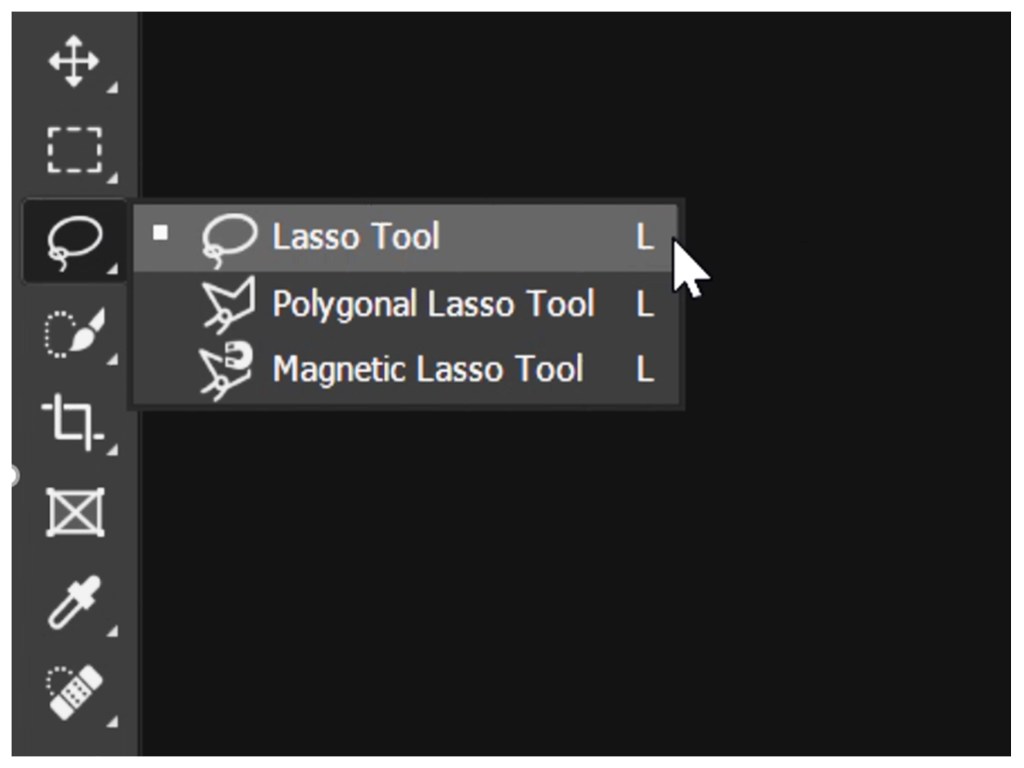
a) Normal Lasso tool: for normal selection
Method: simply click and drag over an image by holding down your mouse and end to the point from where you started.
b) Polygonal Lasso: for selection of irregular pixels
Method: Consecutive click on all desired pixel value and end at the where you started.
c) Magnetic Lasso: for selection of regular pixels.
Method: Click and move your mouse around the area of interests and finish to the point from where you started.
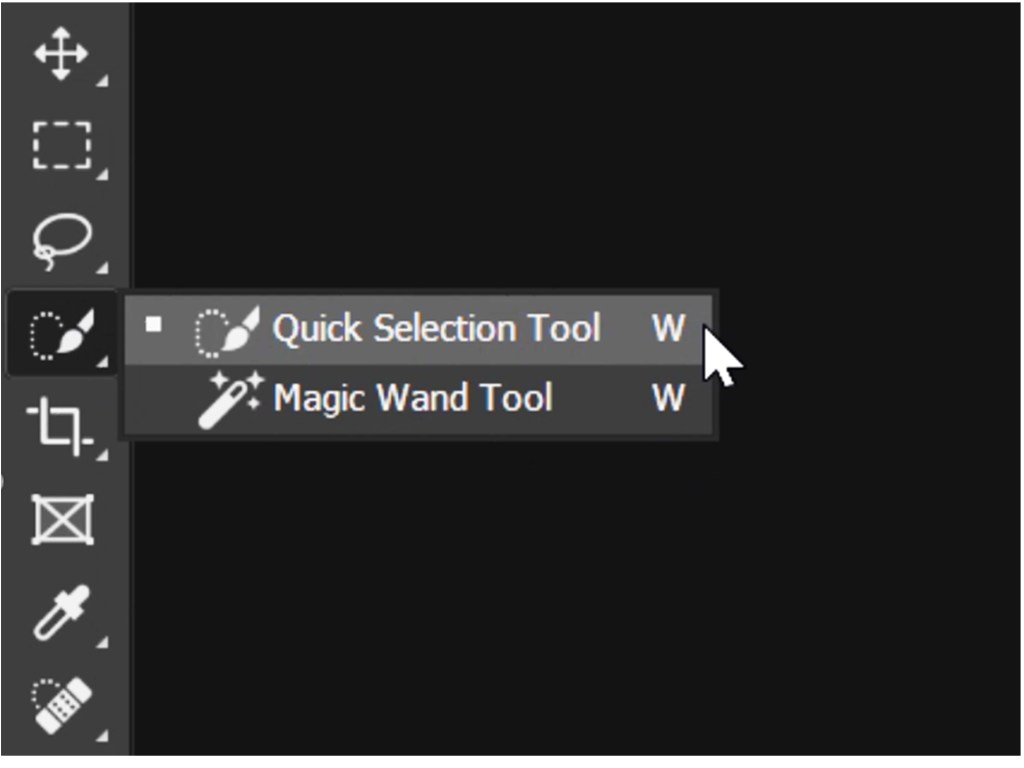
SELECTION TOOL
The Quick selection tool selects the adjacent pixels based on color similarities. While we have to specify the tolerance level for the color similarity of the magic wand tool selection in the range of 0-255 in the tool options bar.
Steps :
1. Open an image and select the magic wand tool.
2. In the tool option bar, set the tolerance level to 25.
3. Click your magic wand tool in your area of interest. The similar connected pixels will be selected.
4. Shift + Click if u have to make multiple selection.
CROP TOOL
The cropping operation is used for trimming or removing unwanted parts from the picture.

Steps :
- Open an image and make some selection using any selection tool.
2. From the menu, select “Image>>Crop”. The parts outside the selection will be removed.
OR
- Open an image and select the crop tool.
2. Click and drag the crop tool across the image.
3. Use handles on the cropping box to find tins your selection. The outside area of the cropping box will be trimmed off.
4. Double click or Press Enter to apply the crop tool.
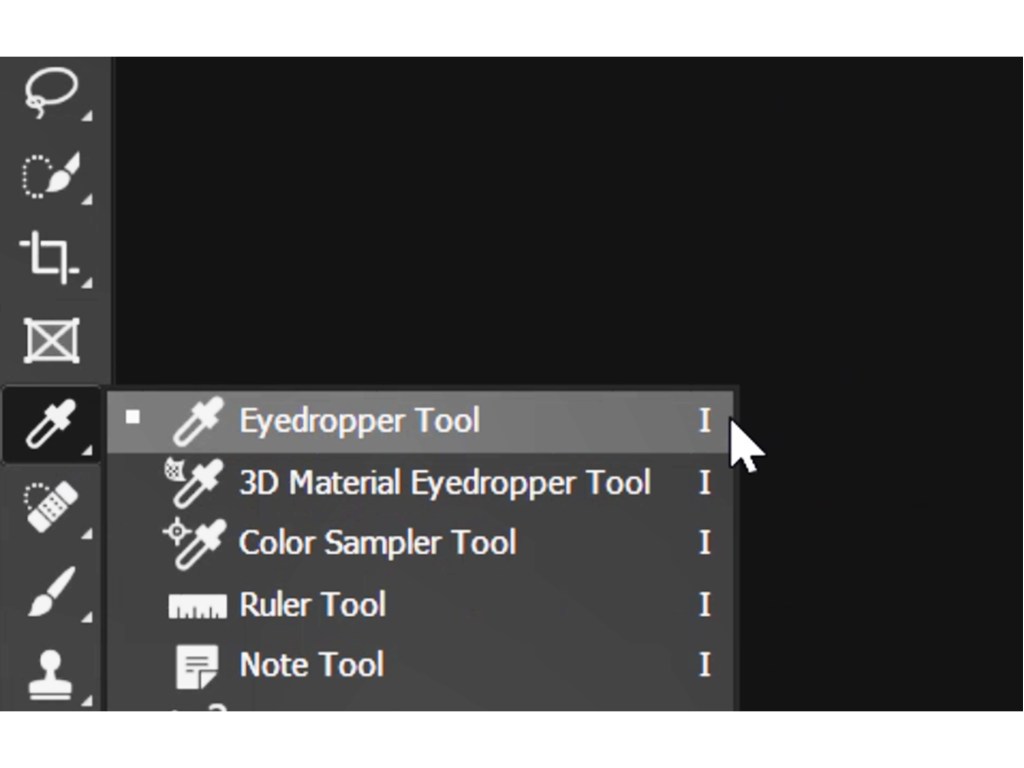
SAMPLER TOOL
Sampler tool or commonly known as Eyedropper tool which samples the color when we select a part of image and automatically the color is selected. We have 3 types of sampler tool :
- Eyedropper tool
- 3D material eyedropper tool (used in 3D workspace)
- Color Sampler tool
HEALING BRUSH TOOL
Healing brush is used to remove unwanted stuffs from a image . This is widely used in field of retouching process which we will be discussing later on in this series. 4 types of healing brushes :
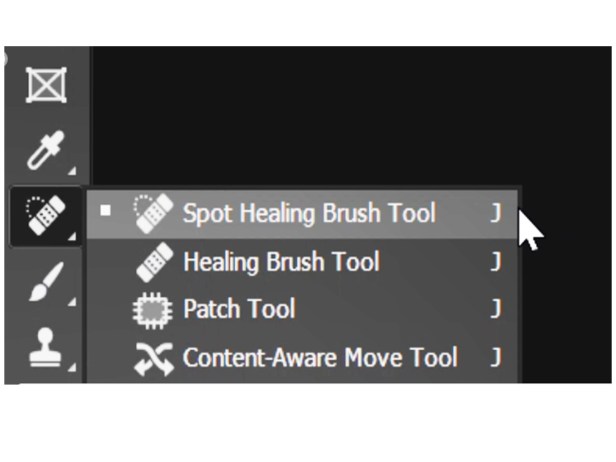
- Spot healing brush tool ( Just click on the unwanted spot by adjustment of the brush size and it will remove the portion healing with the color sampled from its surrounding pixels)
- Healing brush tool (sampling the desired part of pixels by pressing ALT + right click , then simply draw on the unwanted part it will sample the desire sample we have selected)
- Patch tool ( Select the amount of portion wanted to remove and then slide the selected portion to the desired state of the image , it will replicate the selected portion)
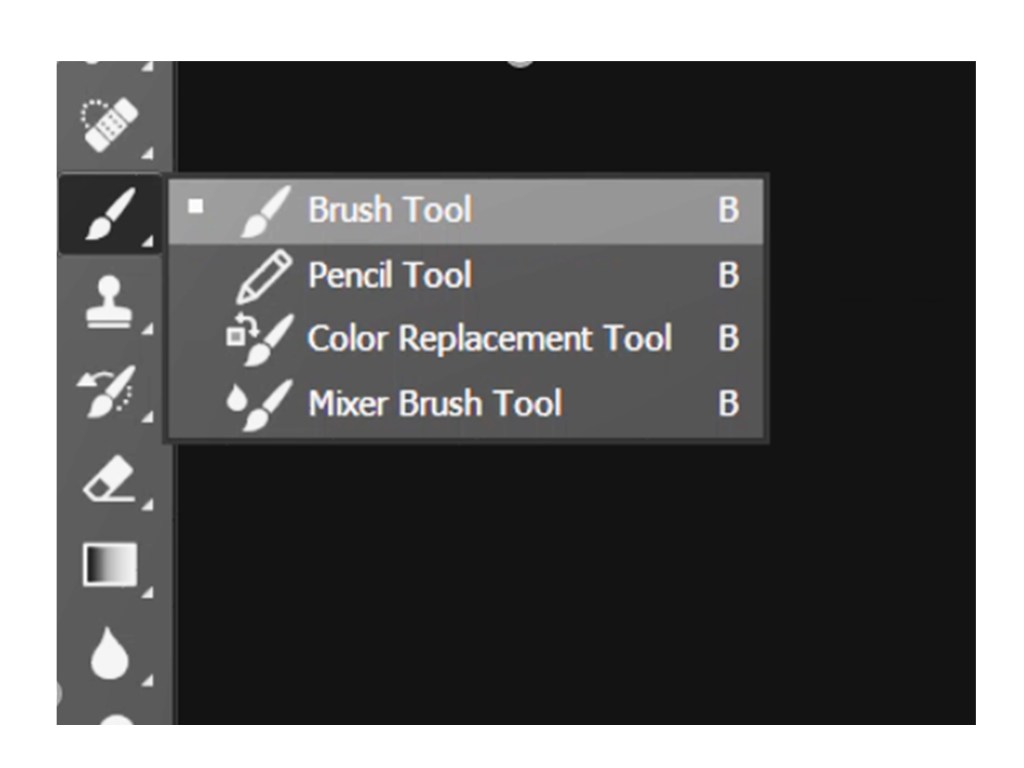
BRUSH TOOL
As the name suggest it is used as a brush to paint or draw or select any part of the image . The most important tool and all time using of the different types of brush persets . We will be discussing it completely in the blog Brush Tools and Additional Presets
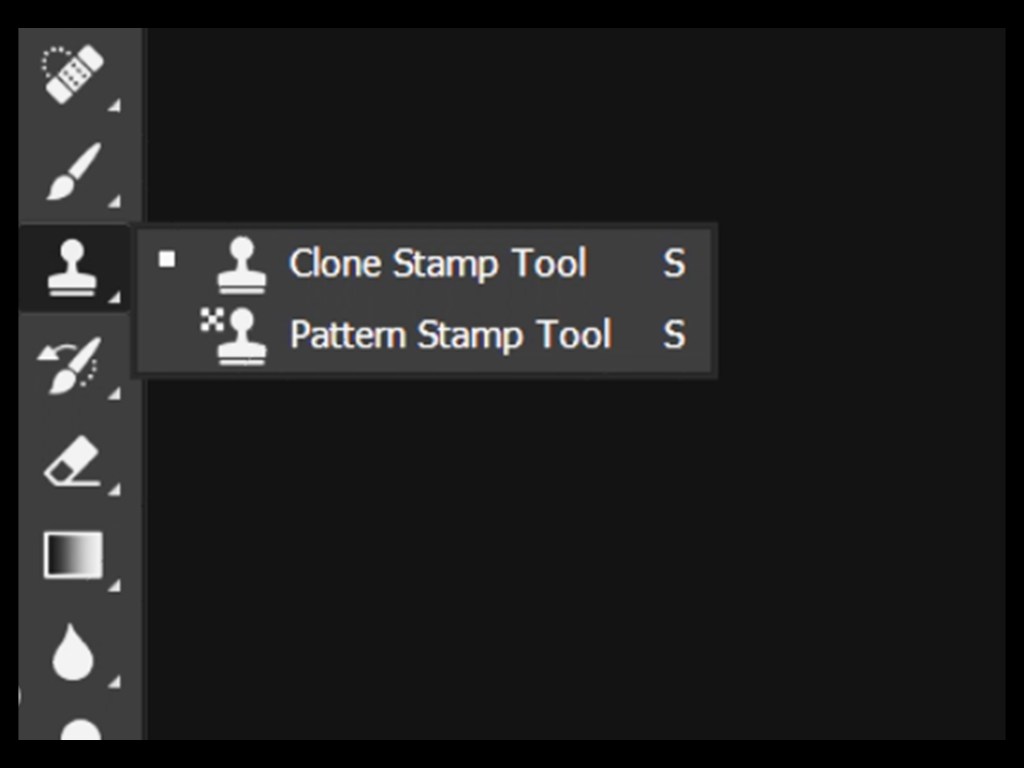
STAMP TOOL
Widely known as Clone tool despite its name . Used in cloning a certain portion or pattern of a picture in a another part replicating the selected portion.
Steps:
- With the Clone Stamp tool selected, position the cursor over the area you want to clone and then Alt-click (Windows) or Option-click (Mac) to define the clone source.
- Position the cursor over the area where you want to paint the cloned pixels and then start painting.
- Note the cross hair at the original sampled area. While you’re painting, the cross hair follows the pixels you’re cloning.
ERASER TOOL
The eraser tool changes pixels in the image as you drag through them. There are mainly three types of erasers in Photoshop.
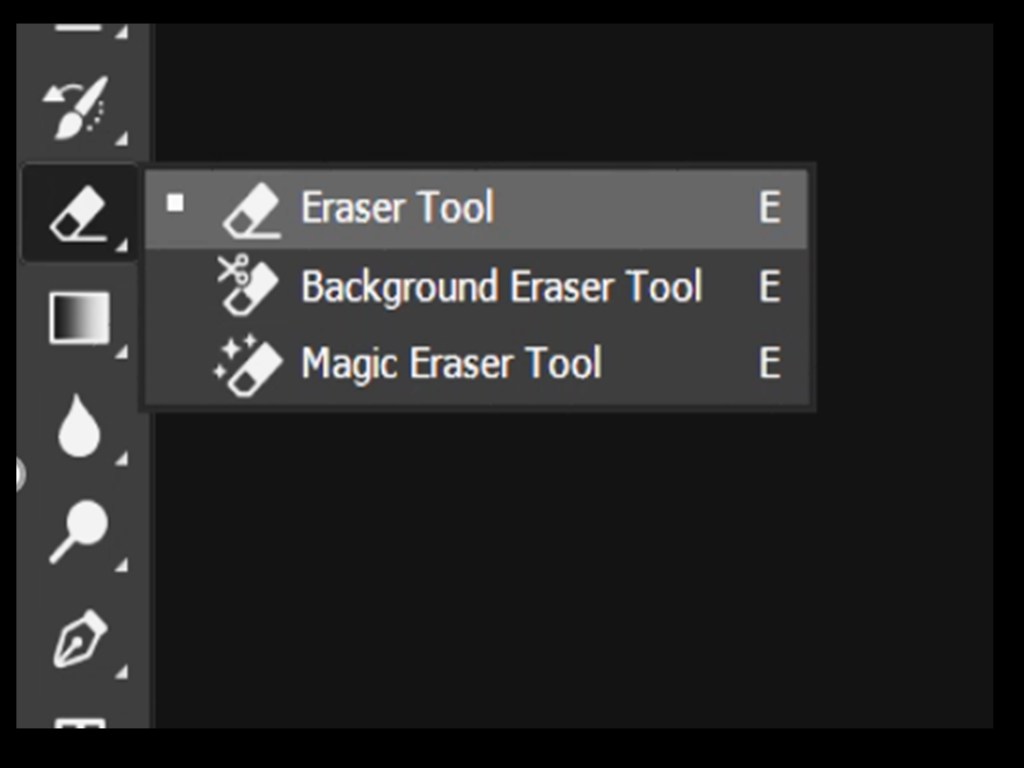
1. Normal Eraser: Erases everything with the background color.
Method: Click/Drag the eraser tool in your image.
2. Background Eraser: Erases almost everything and shows the transparent background.
Method: Click/Drag the background eraser tool in your image.
3. Magic Eraser: This tool erasers the connected color pixels that are similar to each other and shows the transparent background.
Method: Click with the magic eraser tool in your desired pixel. The similar connected color pixels will be erased.
TYPE TOOL
The Type Tools are what you will use when you want to add text to a Photoshop document. It comes in four different variations and allows users to create both horizontal and vertical type. Note that whenever your create type in Photoshop, a new Type Layer will be added to your Layers Palette.
Details will be discussed in the Text tools and Effects blog inn this series.
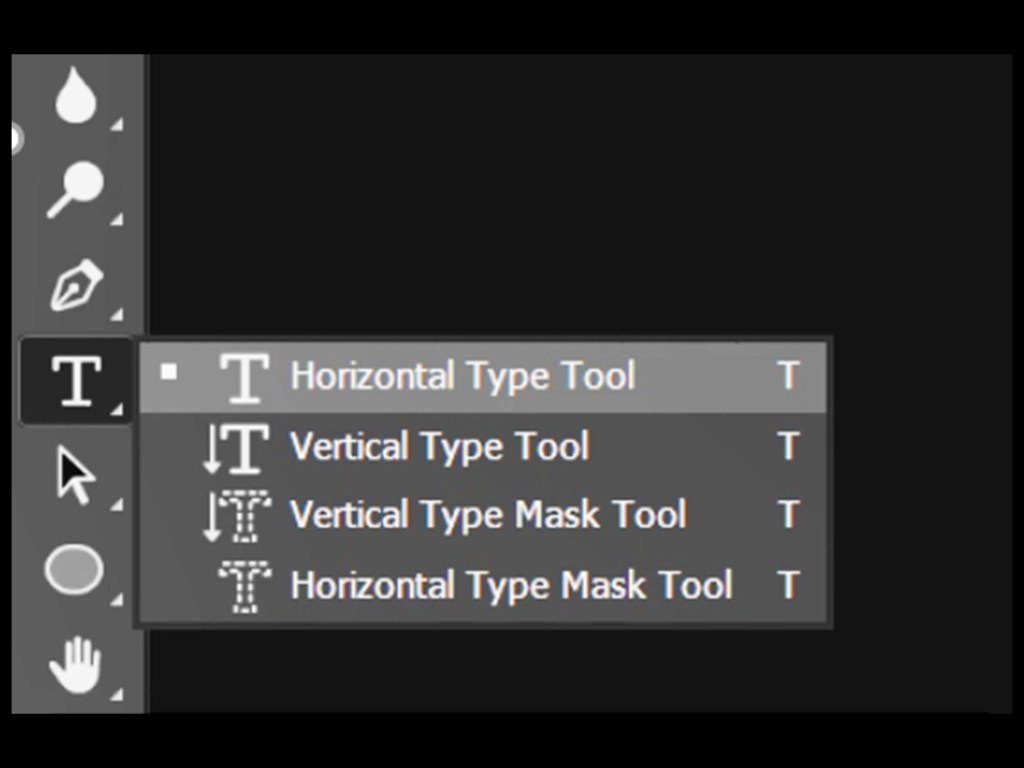
1. Horizontal Type Tool – The Horizontal Type Tool is your basic type tool. It allows you to create basic text on a horizontal plane.
2.Vertical Type Tool – This tool allows you to create basic text that is written on a vertical plane (from top to bottom).
3. Horizontal Type Mask Tool – This tool creates a selection of the text rather than live text. The selections can then be used to create masks and clippings.
4. Vertical Type Mask Tool – This tool creates a selection of the text rather than live text. The text will be formatted on a vertical plane. The selections can then be used to create masks and clippings.
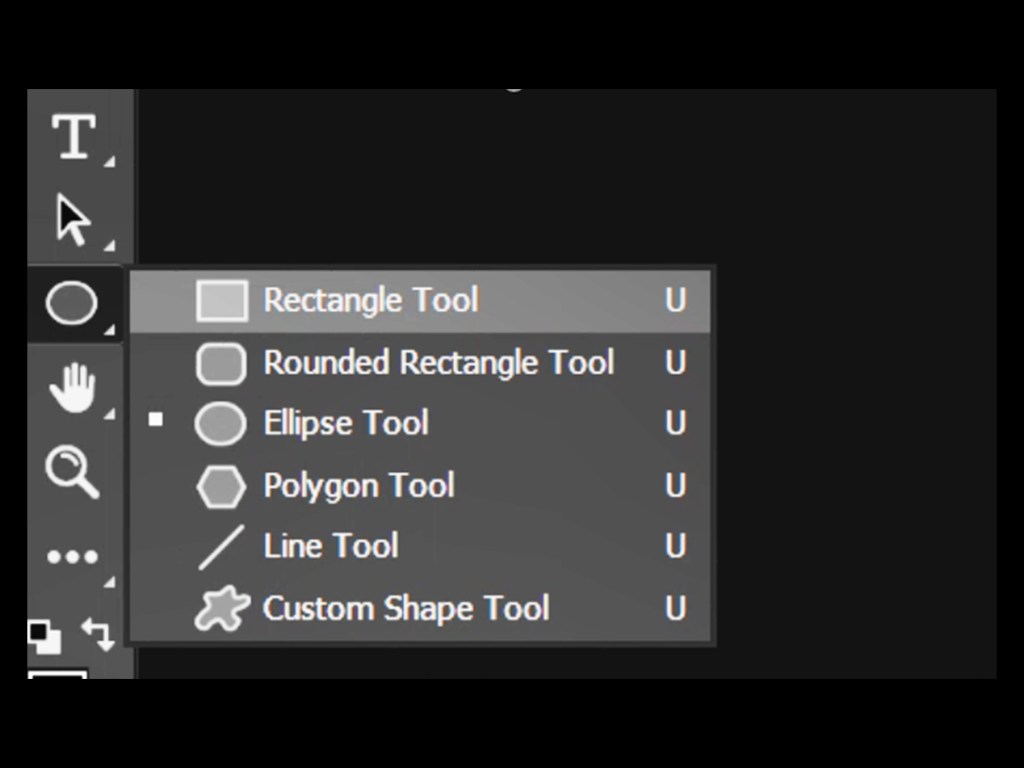
SHAPE TOOL
There are 6 types of shape tool
- Rectangle Tool
- Rounded Rectangle Tool
- Eclipse Tool
- Polygon Tool
- Line Tool
- Custom Shape Tool
By selecting these items you can draw them as regular path or as a shape layer.
OTHER TOOLS :
- Gradient tool
- Blur tool
- Dodge tool
- Pen tool
These tools will be discussed later in this series as they need perfect platform and graphic examples to perfectly understand it rather reading. Some tutorial short videos will be launched in upcoming days reveling important tricks and editing skills to perform well .
Next we will be discussing on Photoshop LAYERS.

Excellent 👍
LikeLike